My Journey with PinPoint Scan and Microsoft Intune

I’ve been using Intune to deploy my org’s applications for about a year now. Almost every application, from our password manager to our Microsoft Office Suite, is deployed via an Intune application package. Most of these are generated using a PowerShell script, but some must be custom-built. Typically, this involves reading some documentation or browsing an r/Intune thread where someone has had to deploy the finnicky application before me.
These two options have worked fine for every application except for one: PinPoint Scan. This obscure piece of scan-to-device software used by some(?) Kyocera copiers has no official documentation for deployment with Intune and it seems like no one had ever deployed it with Intune before. The usage guide’s preferred form of installation was by manually running the installer on every machine.

When I first started my job, this may have flown. Nowadays however, I’m on a big scalable automation kick. Everything I deploy must be automated as much as possible and be easily scalable. This accomplishes a few things: 1) it reduces the likelihood of human error in the process, 2) it means that I don’t have to waste time reading a guide every time I want to complete some complex task that I can’t be bothered to remember the steps for, and 3) as my employer grows, I want IT operations to be able to smoothly grow to meet that need with minimal effort required. This saves me time, which saves the company time and money.
So, PinPoint Scan. I absolutely refuse to install it manually, but I’d never had to fly solo on a packaging operation before. I had tried to package the previous 2.0 version of the software, but upon realizing that simply running it through the Intune packaging tool and calling it day wasn’t enough to get it working, I resorted to the manual installation method. This time I wanted to figure it out.
The first thing I tried was what I had done the last time, praying that maybe the new version of the software had changed in such a way that it would cooperate more with Intune (after all, it was a .msi this time, instead of the harder to work with .exe format). Naturally, this was not the case. After running the application through the conversion tool and using the same “msiexec /I %installername%.msi /qn” command I had used in the past, the package failed to install on my test machine after being uploaded to Intune. Well, failed to completely install. While the software was installed, several components were missing, such that when opening the app from the generated shortcut, it failed to launch. Instead, the application prompted me to locate the .msi originally used to install it (you would think that that would still be around). This was the issue with the previous version of PinPoint Scan as well, though I had never researched it.
The next thing I thought to do was to open the application directly through the .exe, just in case the issue was somehow with the shortcut. This caused the application to crash. Luckily, a crashlog was generated so I could perform a diagnosis. By “I” I mean ChatGPT, since I’m new to the world of tampering with and dissecting installers and have no idea how to read the log produced. Within seconds, ChatGPT had determined that the error in the log had something to do Microsoft’s .NET library (a common library used in many applications). Specifically, the version required by PinPoint Scan wasn’t present. However, the crashlogs did not indicate the version required (ChatGPT didn’t tell me this, by this point I had begun to learn how to parse the error logs).
Naturally I referred to the documentation provided by Kyocera for the tool, though the only documentation available was for a newer version; we were on version 3.3.5 whereas the documentation was for 3.4. With the version number not having gone up a whole digit, I figured the application couldn’t have changed that much. Anyway, the documentation indicated that .NET 4.6 or greater was required. Version 3.5 of .NET had been required by PinPoint Scan 2.0 and the only other version of .NET that I had installed manually was a much higher version. I assumed that perhaps the documentation was too old to account for the “new new” versions of .NET so I thought I had found the issue.
I headed over to Microsoft.com and downloaded the installer for Microsoft .NET 4.6. Upon attempting to install the application, the installer told me that I already had a more recent version installed. This indicated to me that the newest version of .NET had not changed enough to warrant having a separate, older version installed like I had done with .NET 3.5.
Okay, so what’s the issue then? I honestly don’t know, but I have a feeling that for some reason, the installer was not able to finish the part of the installation that told PinPoint Scan where to find the .NET framework (this may be completely off-base). Just to make sure, I manually installed the PinPoint Scan app (probably should’ve done that first). Everything worked perfectly.
So how do I get the installer to complete correctly? Time to ask ChatGPT. ChatGPT zeroed in on the fact that when deployed by Intune, launching the app would prompt the user to find the original .msi installer. According to ChatGPT, this indicated the install process required accessing the .msi installer multiple times before completing and that due to the way Intune deploys apps, the .msi was getting moved from wherever Intune initially drops it before the install process could finish. You see, Intune deploys applications in the “system” context, meaning that the installer has full access to system resources and uses different paths for cache. However, it appears that PinPoint Scan’s .msi was made to be installed in the “user” context. While .msi files are typically meant to be installed in the user context, most work in the system context. Due to the need to access a cached version of the original .msi during the install process, PinPoint Scan did not like this approach, most likely because it expected the cached .msi to be in a folder that the “system” context doesn’t use.
This wasn’t the only fix that ChatGPT suggested however; it also suggested that the shortcut PinPoint Scan was creating an “advertised shortcut”, a type of shortcut used to initiate repairs when an installer detects that an error occurred during installation. In this case, it functioned as a bookmark for the point in the installation where the cached original .msi needed to be accessed. Seemed like a potential quick fix.
Naively hoping that for some reason maybe the advertised shortcut was the only issue (I didn’t fully understand it’s function as an error bookmark at the time), I added a flag to the install command to disable the creation of advertised shortcuts. After waiting for Intune to deploy the package with the new install command to my machine, I noticed that the shortcut was gone, but I could still launch the application through the .exe. Excited, I double-clicked that sucker and was greeted with another crash log. Yeah, the issue with the installer was definitely the first one.
I also realized that in order to effectively test my installers and not have to wait on Intune to decide to send the application my way, I needed to be able to run installers in the system context. That’s when I found the PSExec software. Included in a Microsoft toolset called “PSTools”, PSExec allows you to execute operations using the system context. By launching a command prompt (needed to run a .msi installer command) through PSExec, I was able to install .msi files in the system context. I tested this process with the still-broken PinPoint Scan installer just to verify that the result was the same as the one I’d gotten with an Intune install. Sure enough, it was. I was in business.
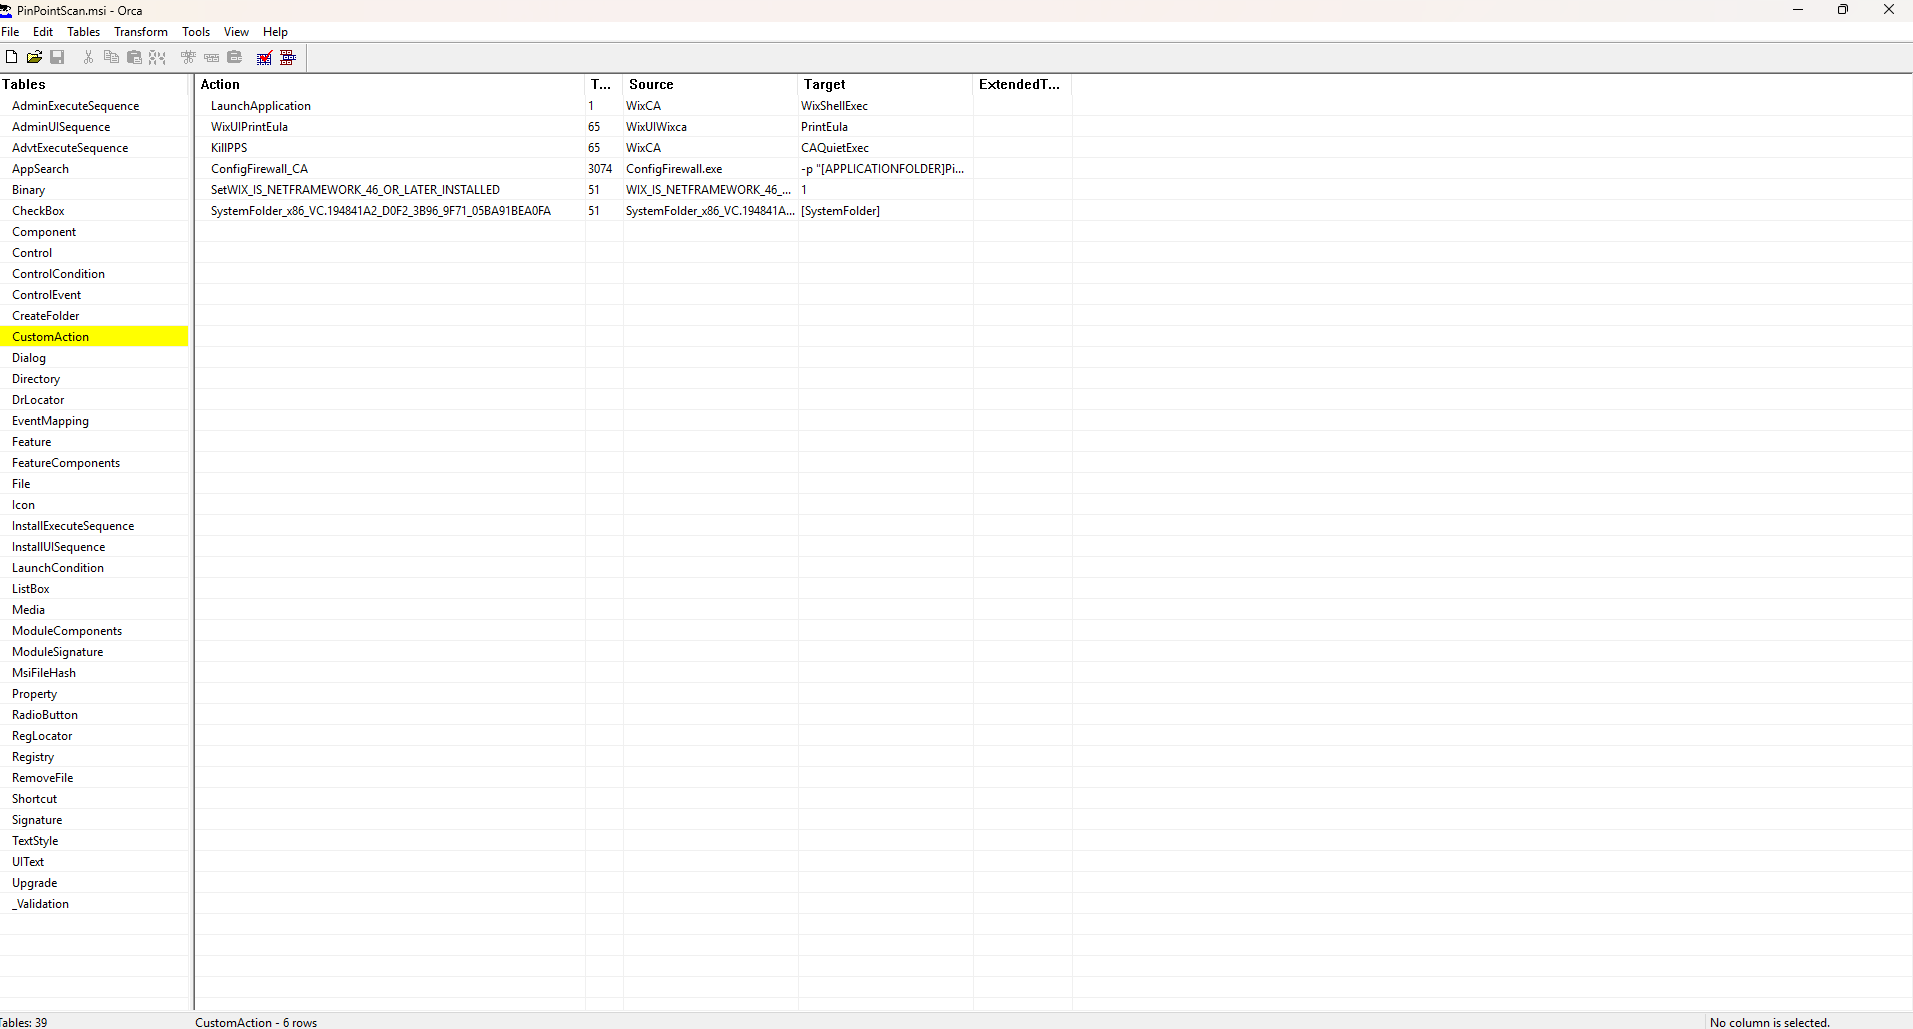
Back to solving the issue of the cache folder. ChatGPT had mentioned the ability to edit the .msi file in order to have it create the cache folder and move a copy of itself into that folder, so that’s what I tried next. For that I headed over to Orca, a Microsoft tool that allows you to examine and edit .msi files. I had used it a few times in the past to edit some CAC middleware installers, so I had some experience with it.
Loading up the application in Orca, I was greeted with a jumble of tables and columns containing various details about the installer. I navigated to the “Custom Actions” page where I defined an action that would create a cache folder and copy the installer into it. Next, I had to tell the installer when to perform this task. I navigated to the “Install Sequence” page and instructed it to complete the action early in the install process. After saving the edits, I was ready to test again.
I fired up the VM I had been using to test the installers and ran another command prompt instance through PSExec. I ran the install command, crossed my fingers, and eagerly watched screen. Once I saw that the installer log had been updated, I attempted to run PinPoint Scan. Same issue as before. I didn’t even bother to read the logs.
Deciding not to mess with the .msi any further, I undid my changes and resorted to creating a PowerShell script to bundle in with the .msi and create the needed cache. Usually, I prefer to avoid bundling multiple files into an Intune package for simplicity’s sake, but I was at my wit’s end. I wrote up a script, packaged it with the .msi, uploaded it to Intune, and edited the Intune’s install command to call upon the PowerShell script. I was too tired to test manually and just waited for Intune to deploy the application to my test machine.
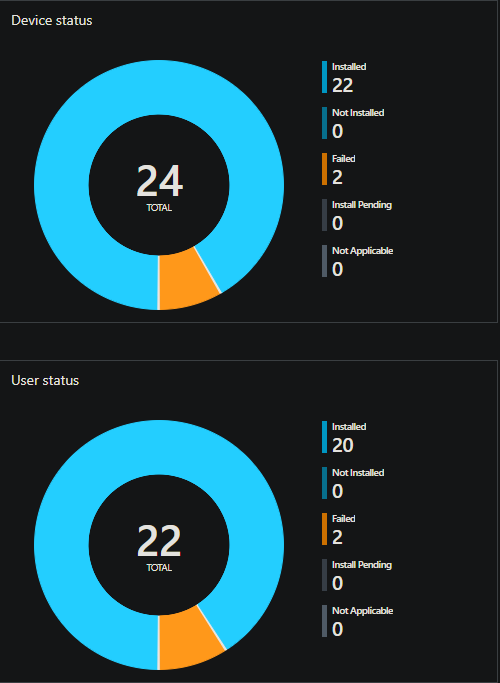
Thankfully, this time it worked! The cache folder was populated with the .msi file and the application created its shortcut. I launched the shortcut and it automatically located the cached .msi to finish the setup process. After a few seconds, I was greeted with the PinPoint Scan window. After three days of work (I tested some ideas that were too dumb to include here and made PLENTY of errors), I had finally tamed PinPoint Scan. Though the process was annoying to say the least, I learned a few new tricks and am better prepared to package similar apps in the future. Hopefully this article provides some insight to other folks that are newish to application packaging and decide to use Intune to deploy apps that were never meant to be deployed with it.